Hey everyone,
I wanted to share how I’ve locked down my self-hosted n8n instance using Cloudflare Tunnel and Zero Trust access control. This setup is what many enterprise companies use, but it’s totally achievable even for solo devs or small teams. And yes — it’s free for most use cases.
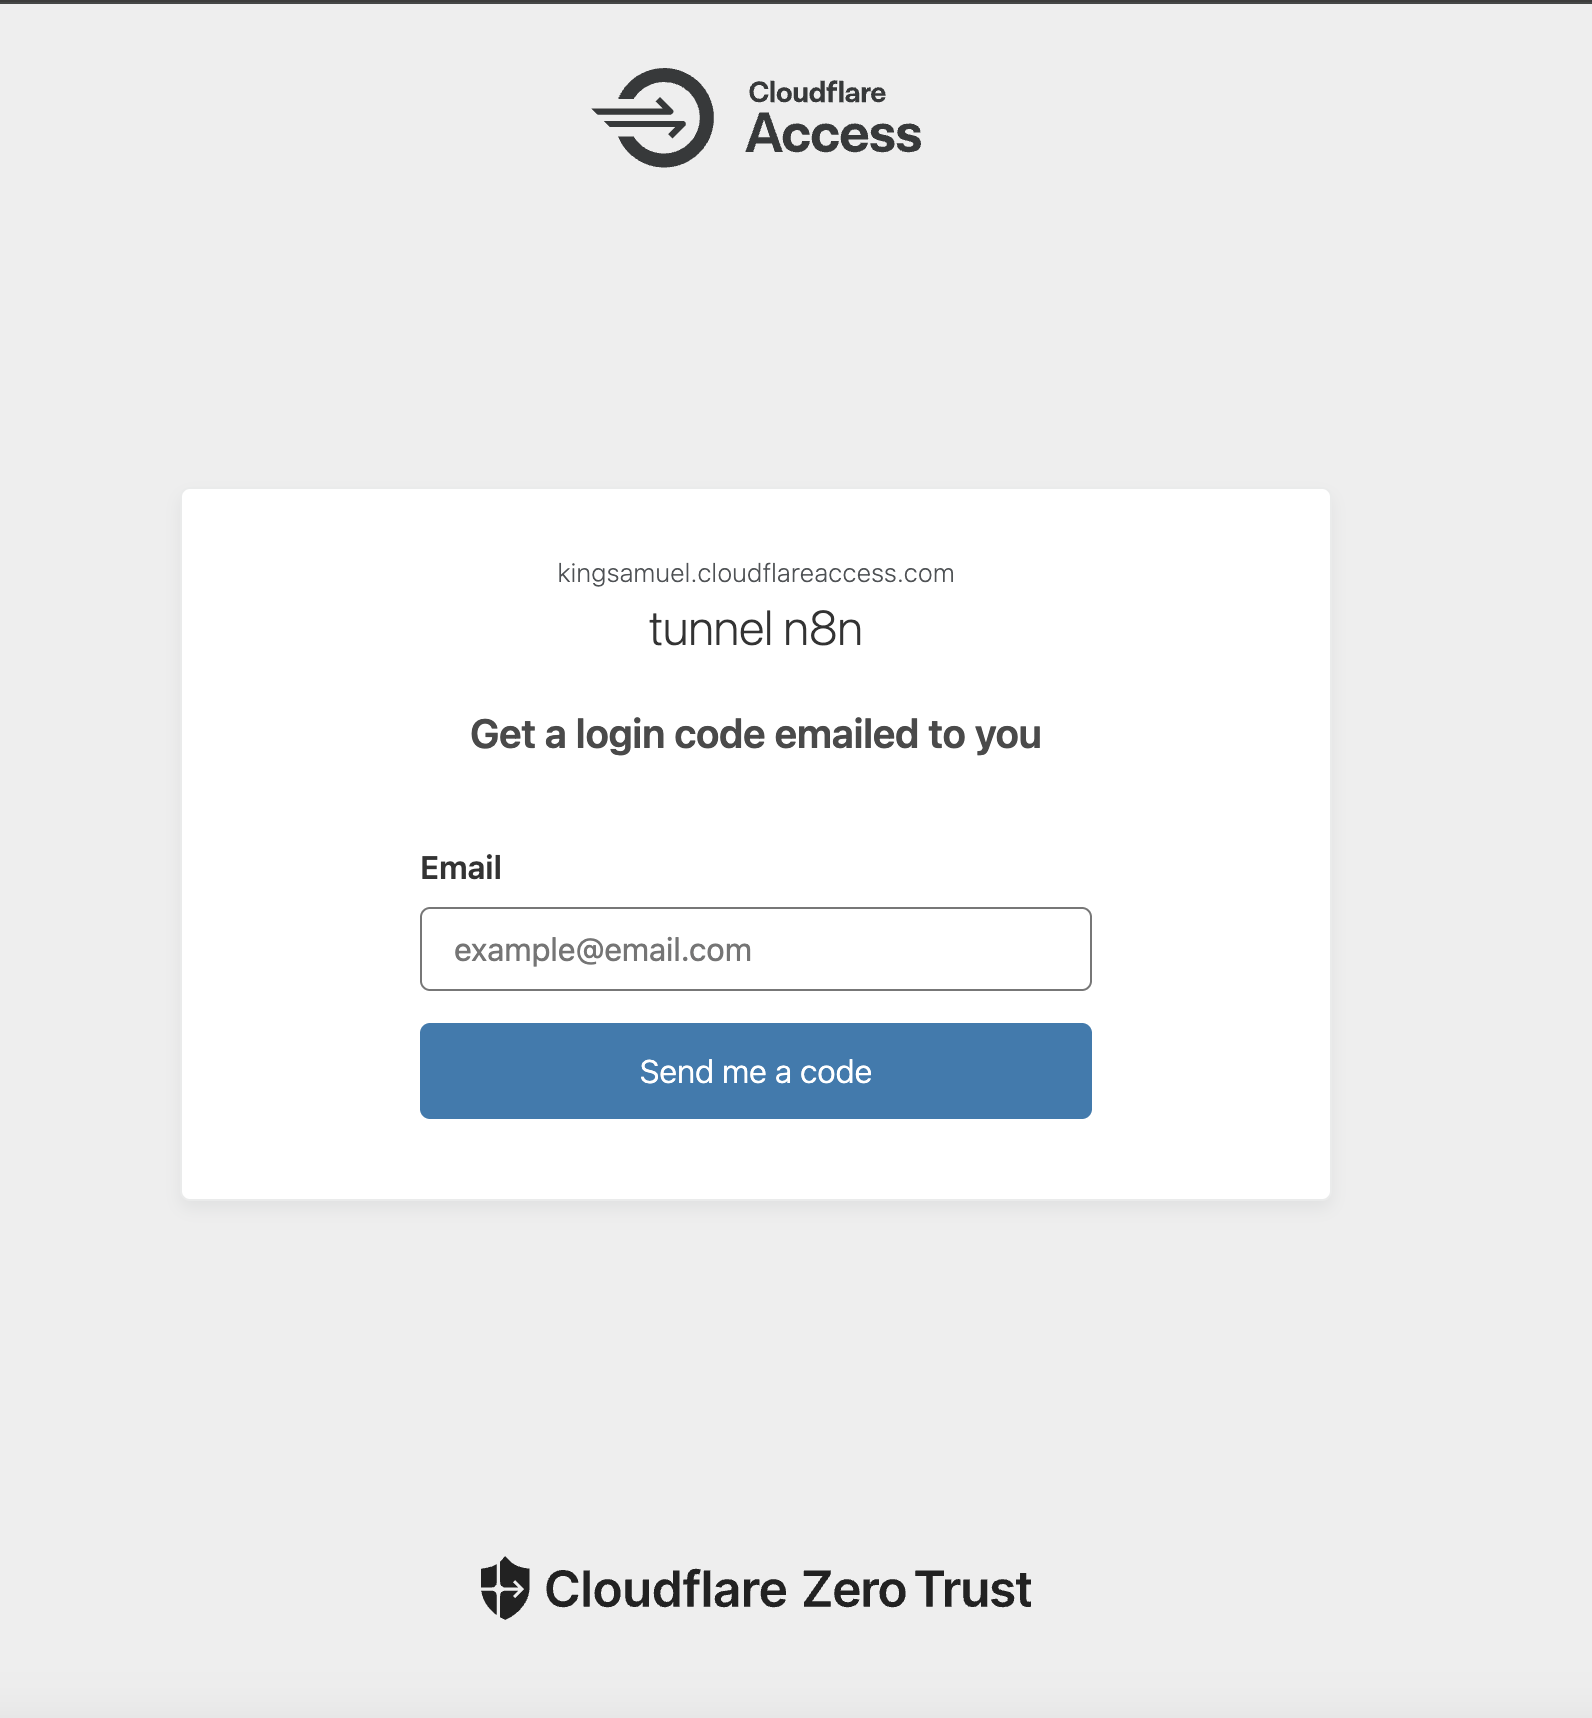
My instance, if you visit, you’ll see a Cloudflare Access login screen first — that’s not just for show. It’s part of a much stronger security model.
n8n can connect to databases, run scripts, post to APIs — it’s incredibly powerful. But out of the box, many n8n instances are:
-
Exposed via a public IP address
-
Protected only by a basic password
-
That wasn’t good enough for me.
![]() What I Set Up
What I Set Up
Here’s the stack I’m now using to protect my instance:
![]() Cloudflare Tunnel
Cloudflare Tunnel
The server runs a lightweight cloudflared daemon that creates a secure outbound tunnel to Cloudflare.
This means no open ports, no exposed IPs, and no way for attackers to reach the app directly.
![]() Cloudflare Access (Zero Trust)
Cloudflare Access (Zero Trust)
Before you even reach the login screen for n8n, you’re stopped by a Cloudflare auth gate.
Only approved emails or users can get through.
I currently allow only specific addresses (not just open domains like @gmail.com).
Security at mind! * My origin IP is completely hidden — no direct access possible
-
Cloudflare’s global edge provides DDoS protection and WAF
-
I can control who gets access, from where, and for how long
-
I get full audit logs of who accessed the app and when
-
This is the same security architecture used by financial and betting tech firms. It’s enterprise-grade Zero Trust — but free and easy to set up.
High-Level Setup Guide Enable Proxied DNS (orange cloud) in Cloudflare for your domain/subdomain.
*add domain to cloudflare, remember to point domain from provider to cloudflare.
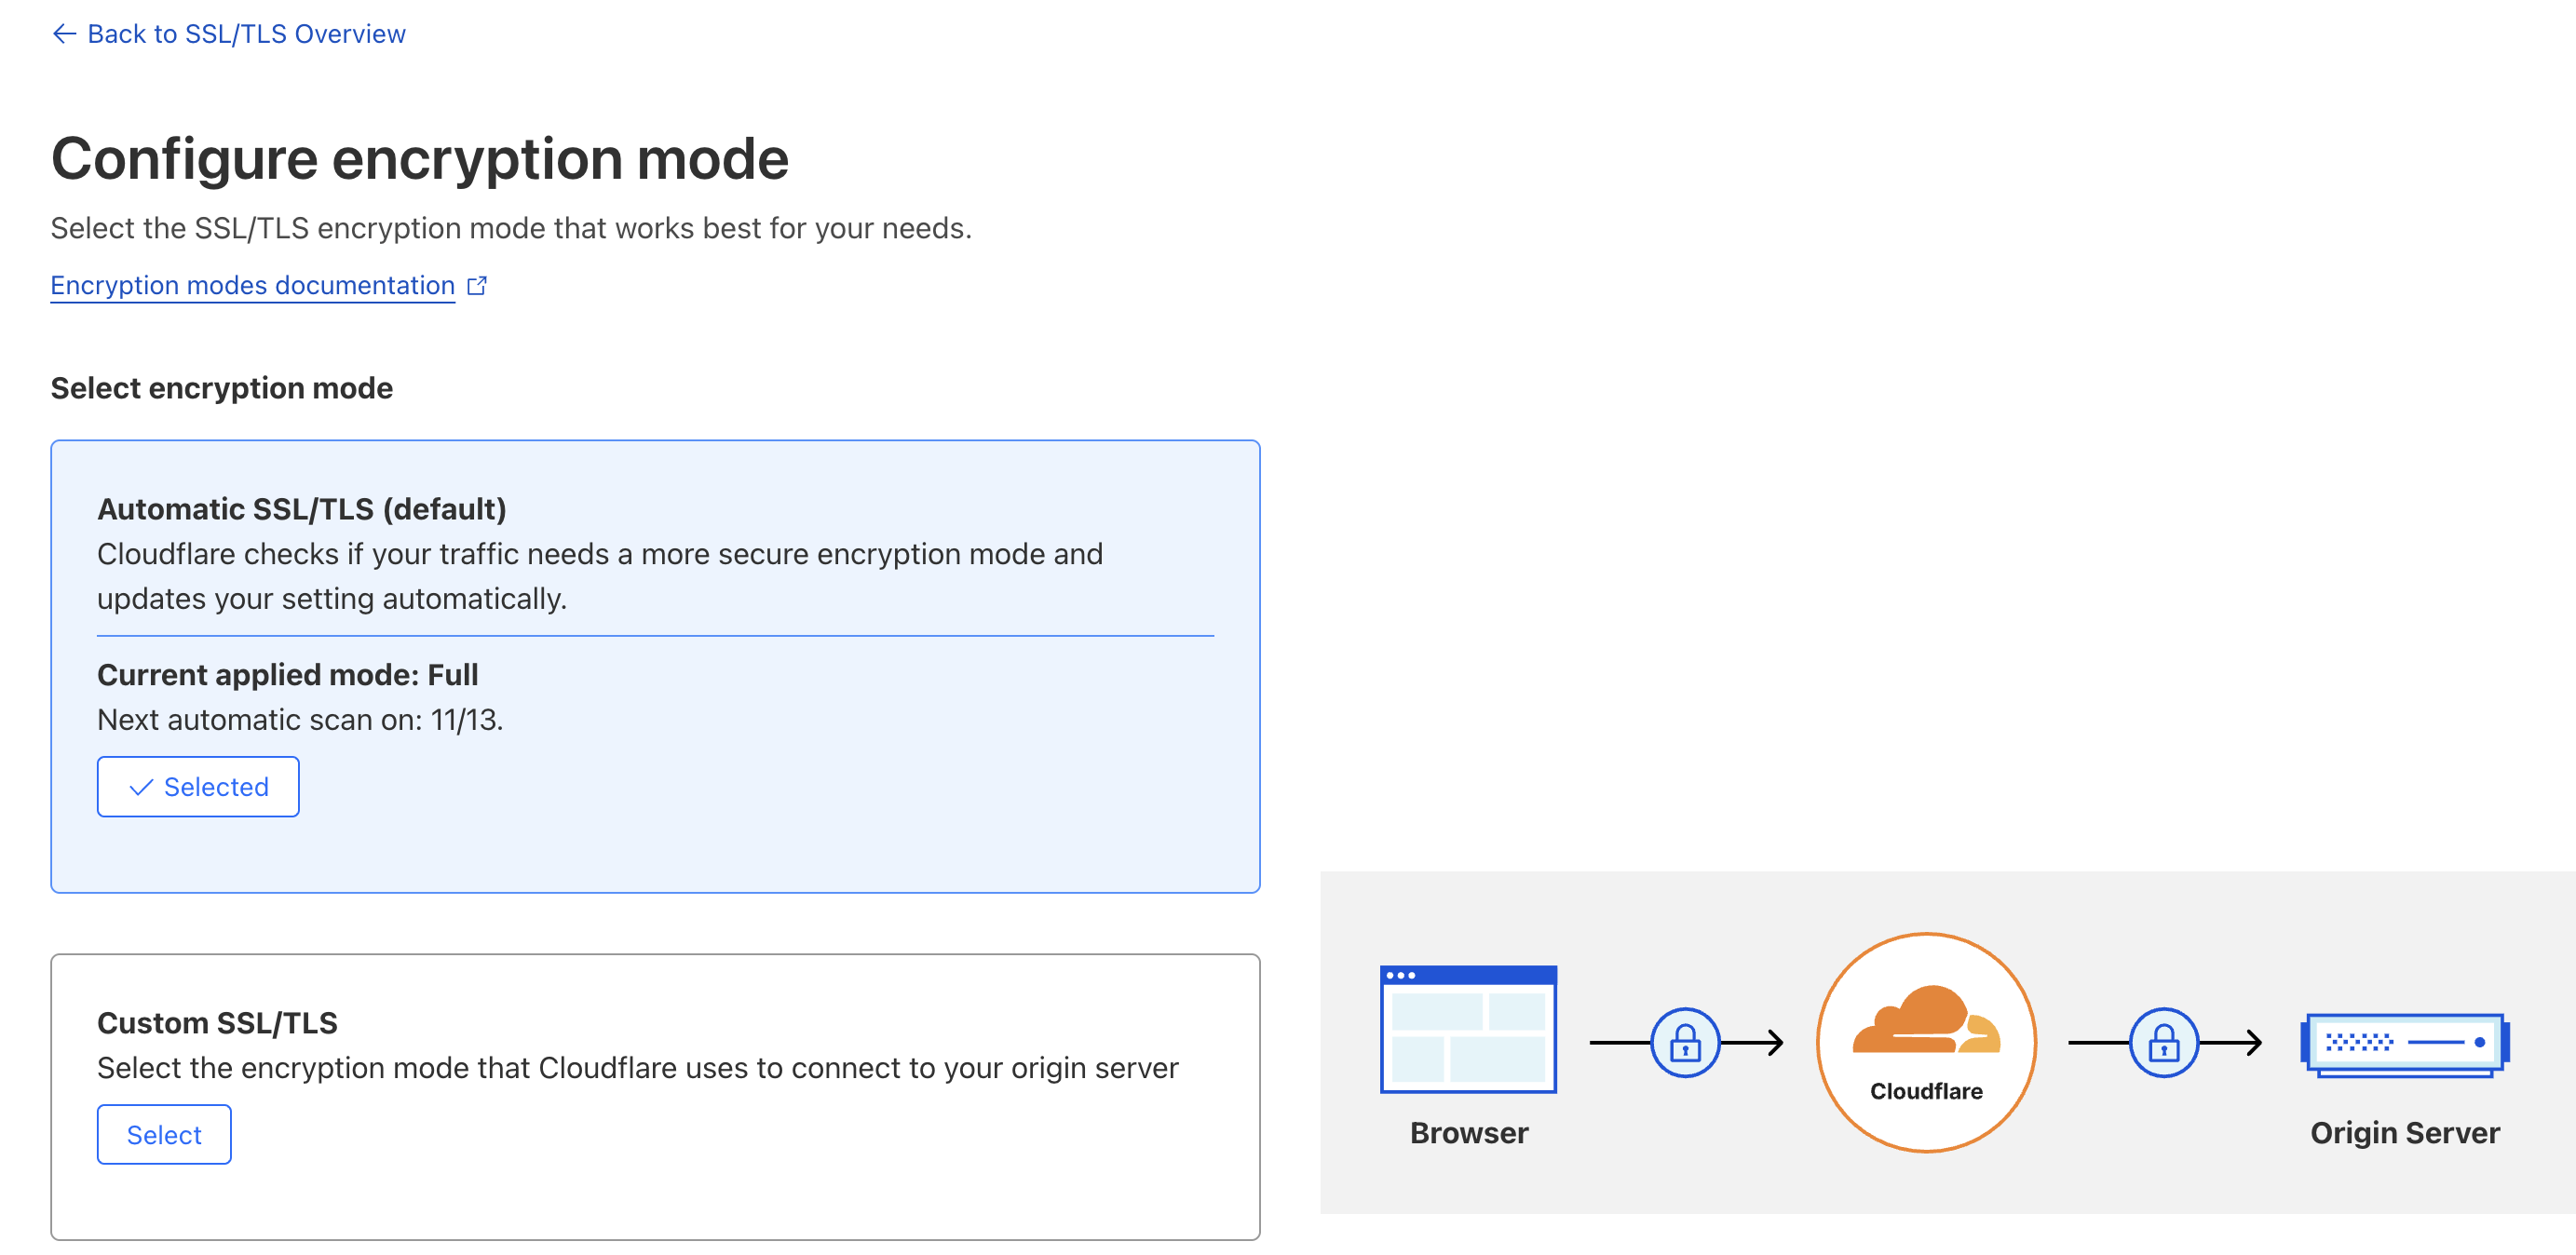
You can also add ure encryption here for ssl.
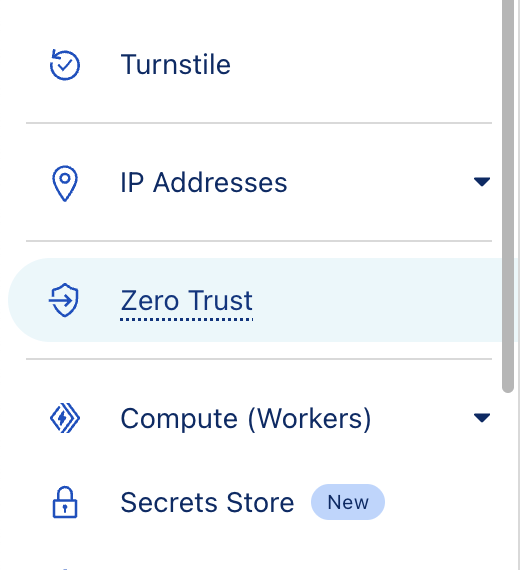
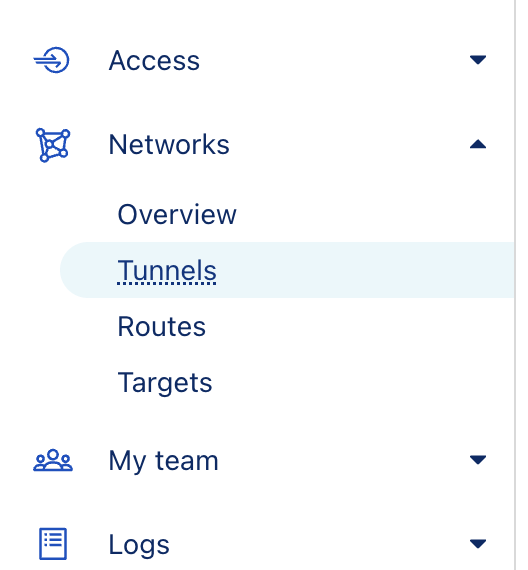
Open ZeroTrust
Network Tunnels
Click CreateNew Tunnel:
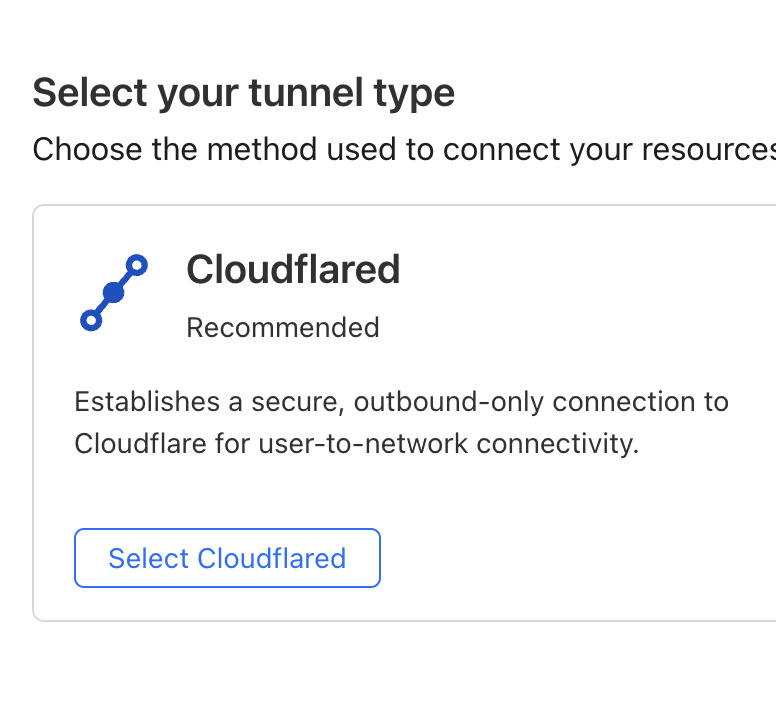
Name tunnel and go to this page next
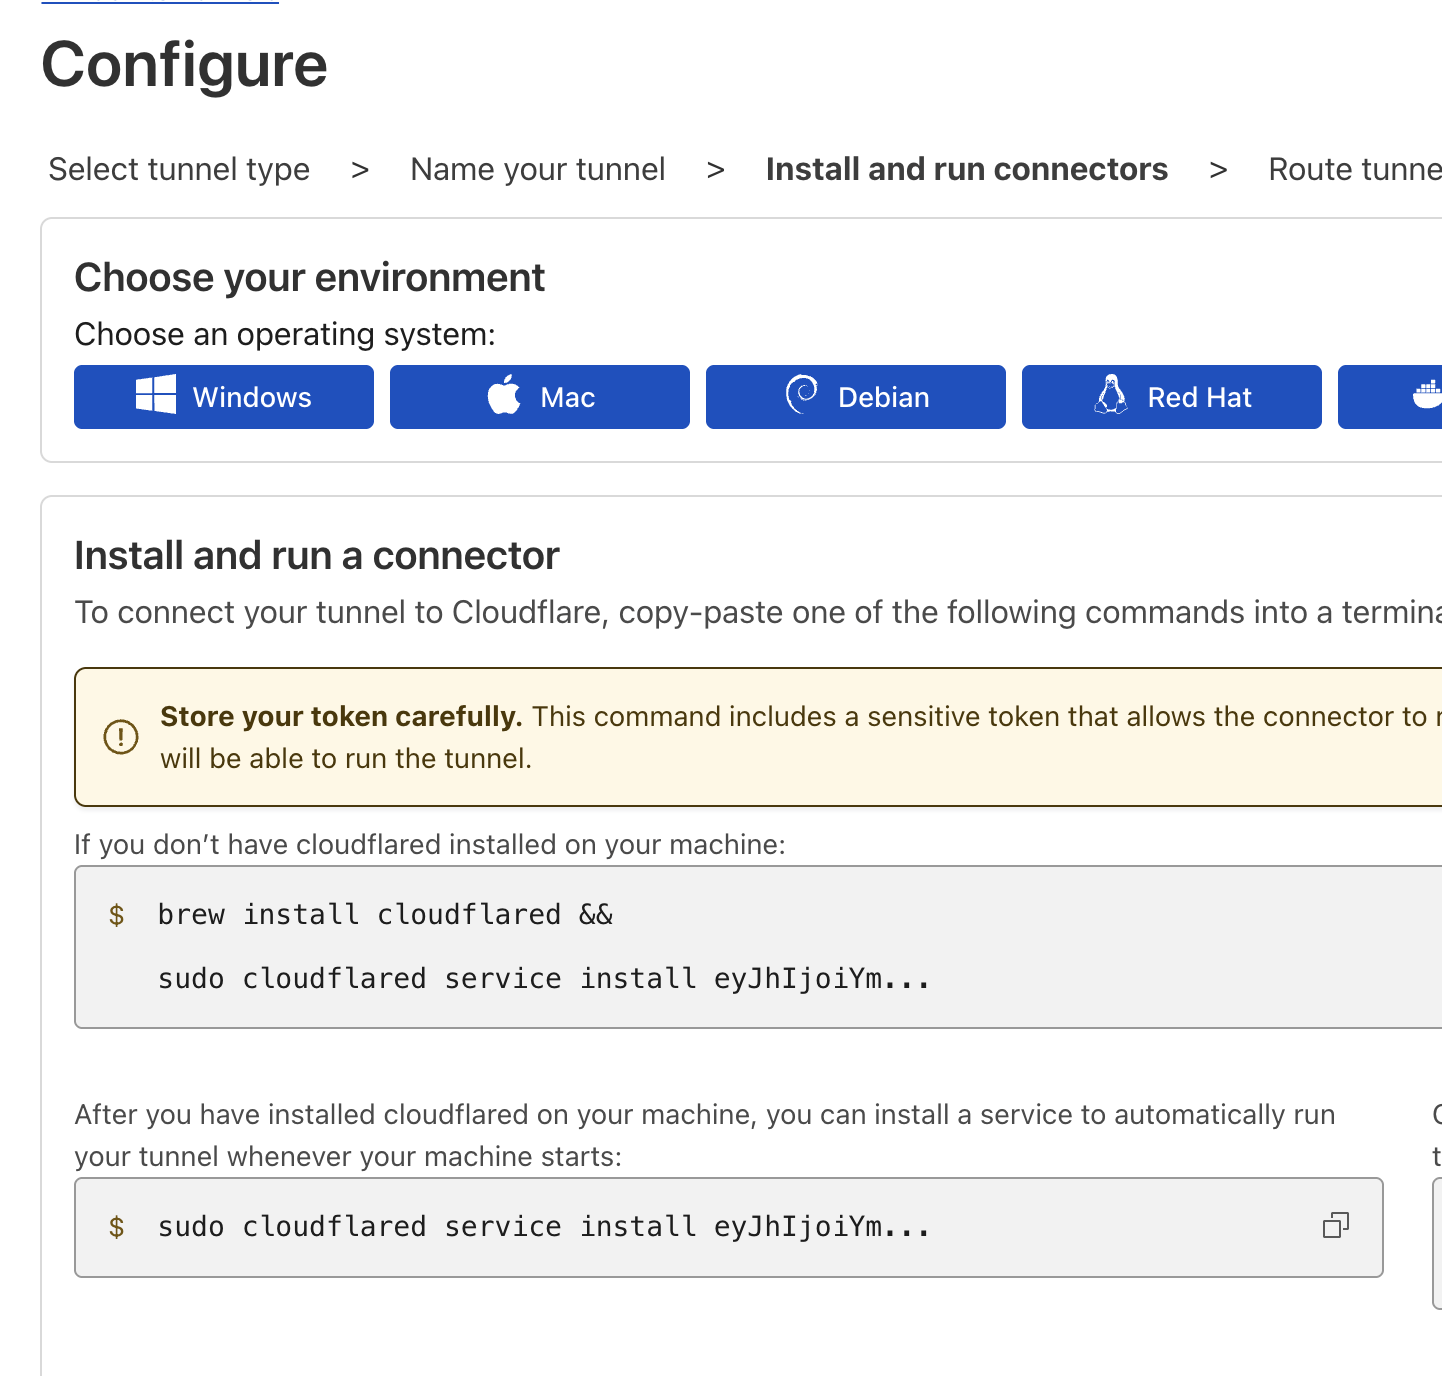
Save this token, for your docker .yml if using docker or if running command see details here. Just copy and paste to see full token. go next
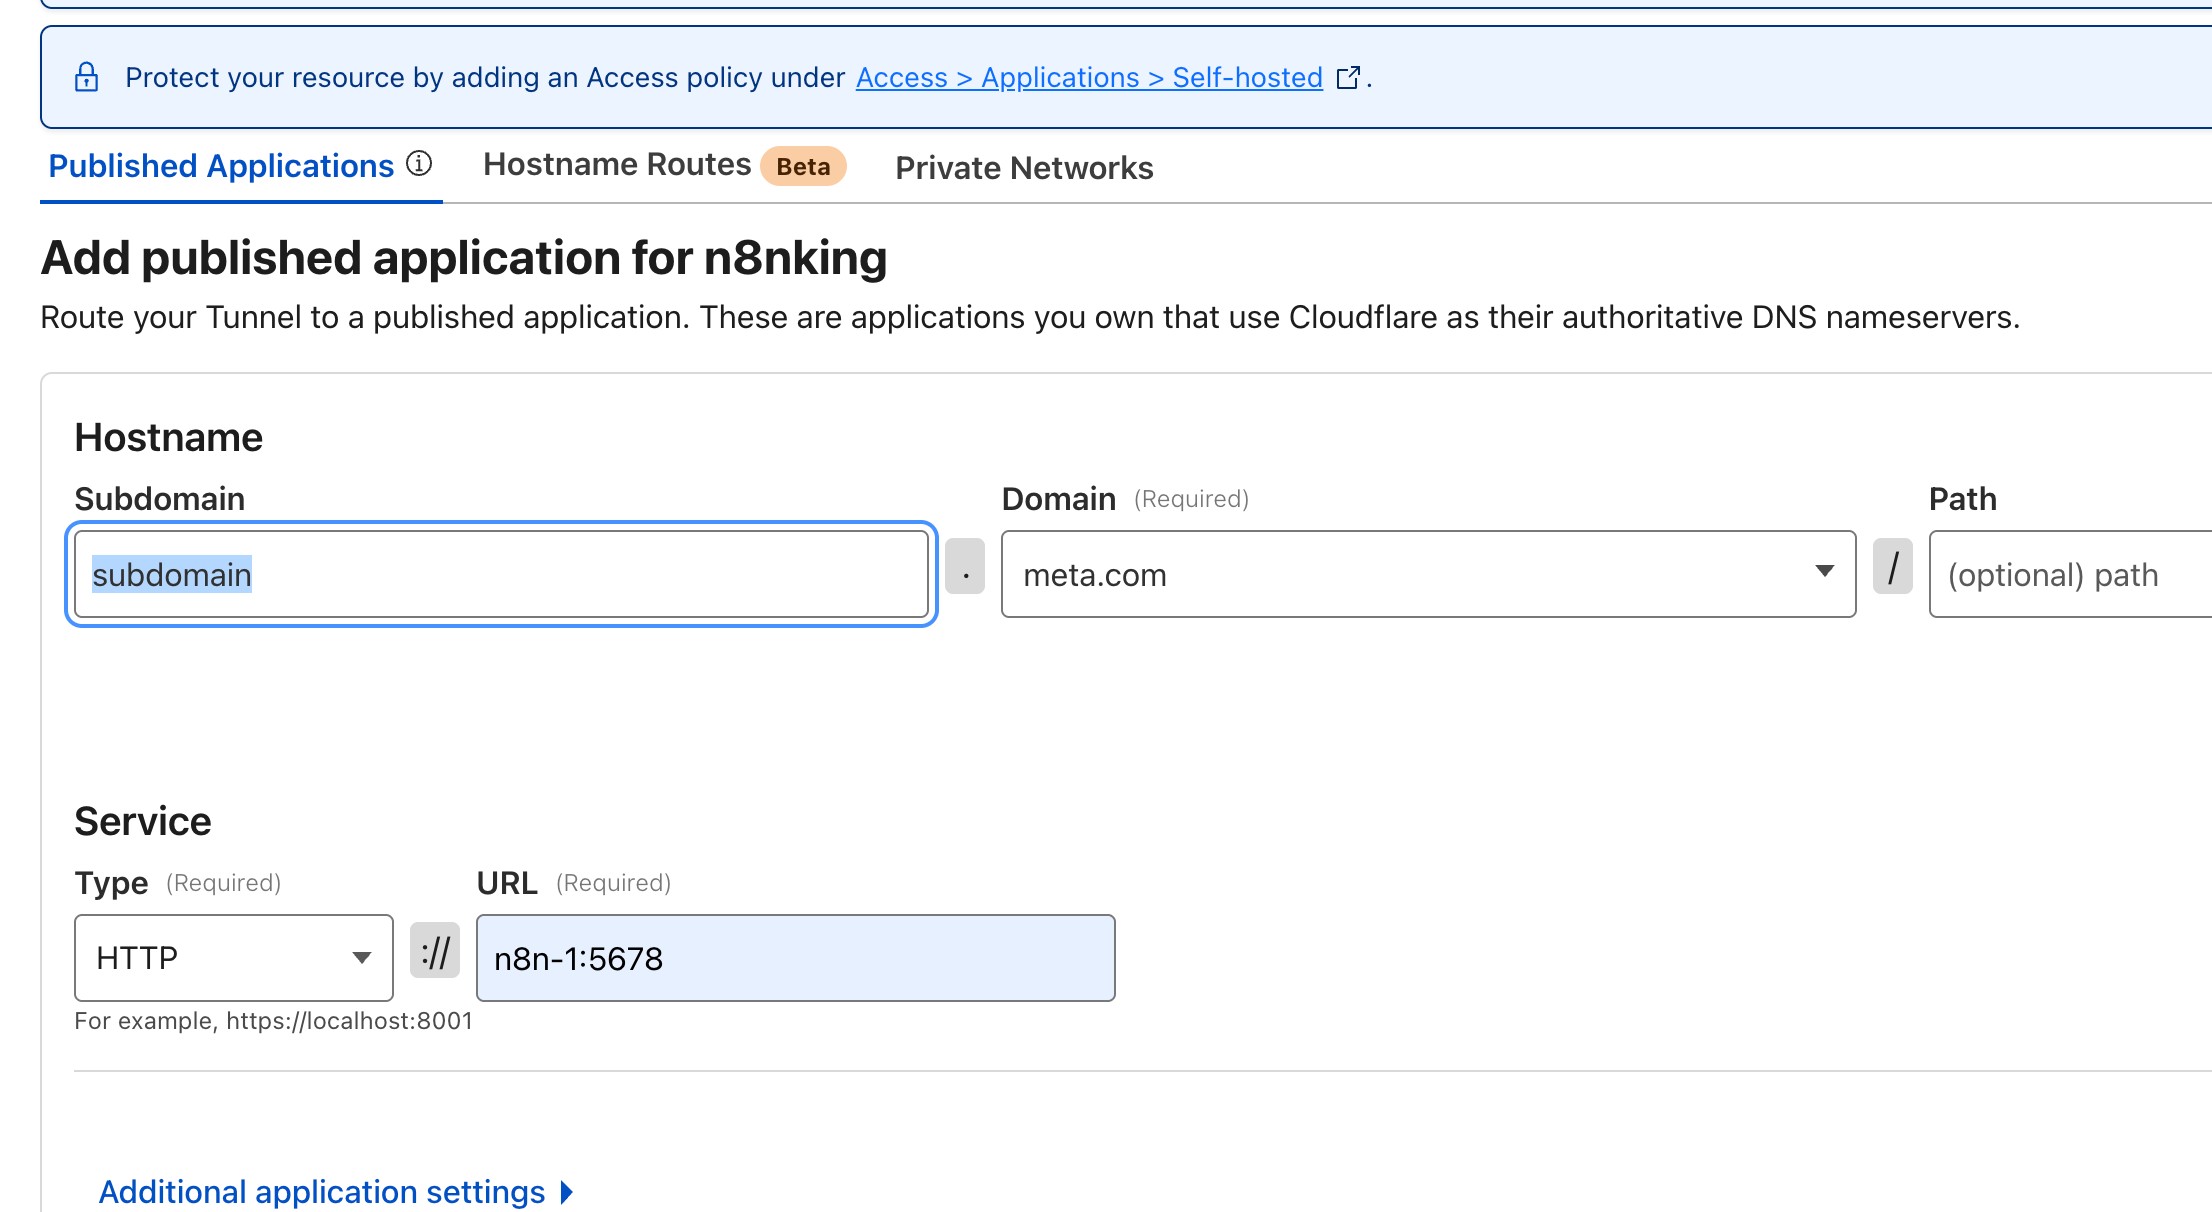
Once you have done this, on the route tunnel page, enter like so, remember because cloudflared is running inside your network (mines inside dockers, with n8n, so I just call the (Docker’s built-in DNS system that automatically resolves container names to their IPs)
Tunnel should be created, now I use docker compose so I just spin up this with my n8n instance
  cloudflared:
    image: cloudflare/cloudflared:latest
    command: tunnel --no-autoupdate run --token tokenFromEarlierStep
    restart: always
    depends_on:
      - n8n
with
      - N8N_HOST=${SUBDOMAIN}.${DOMAIN_NAME}
      - WEBHOOK_URL=https://${SUBDOMAIN}.${DOMAIN_NAME}/
      - N8N_PROTOCOL=https
You can run the command inside n8n if you wish, as earlier step shows, but this is sufficient for me.
Done
- Install cloudflared on your server.
- Create a tunnel
**SEPERATE EXTRA PROTECTION** That should be everything on cloudflare side for the tunnel. we still need to setup access rules and application if needed.
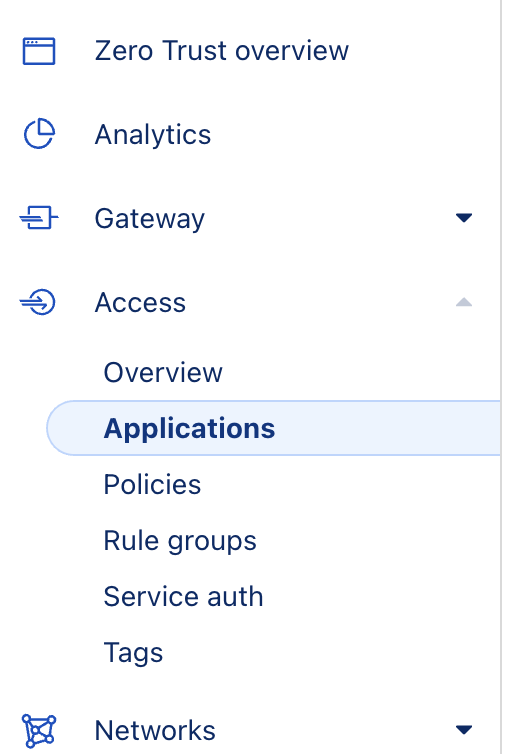
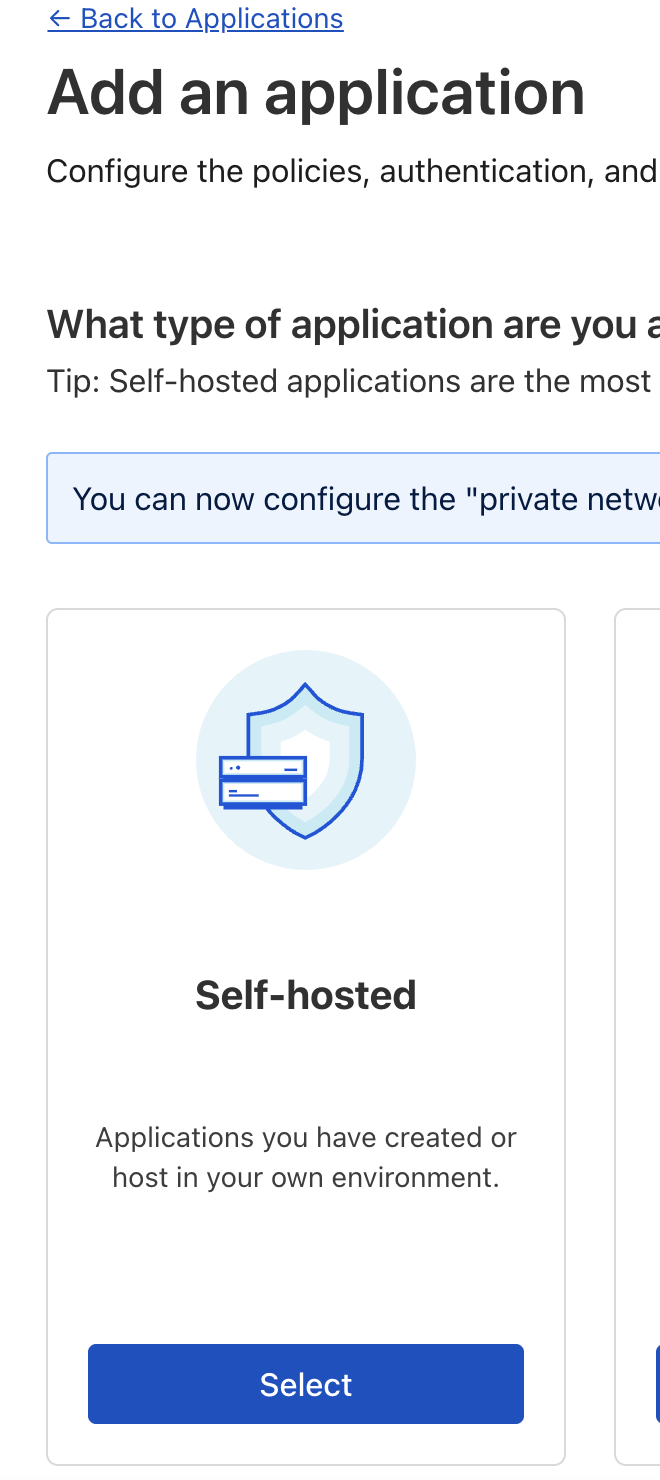
Open Applications
Click add, and select SelfHosted
Pick name, and click + on public hostname
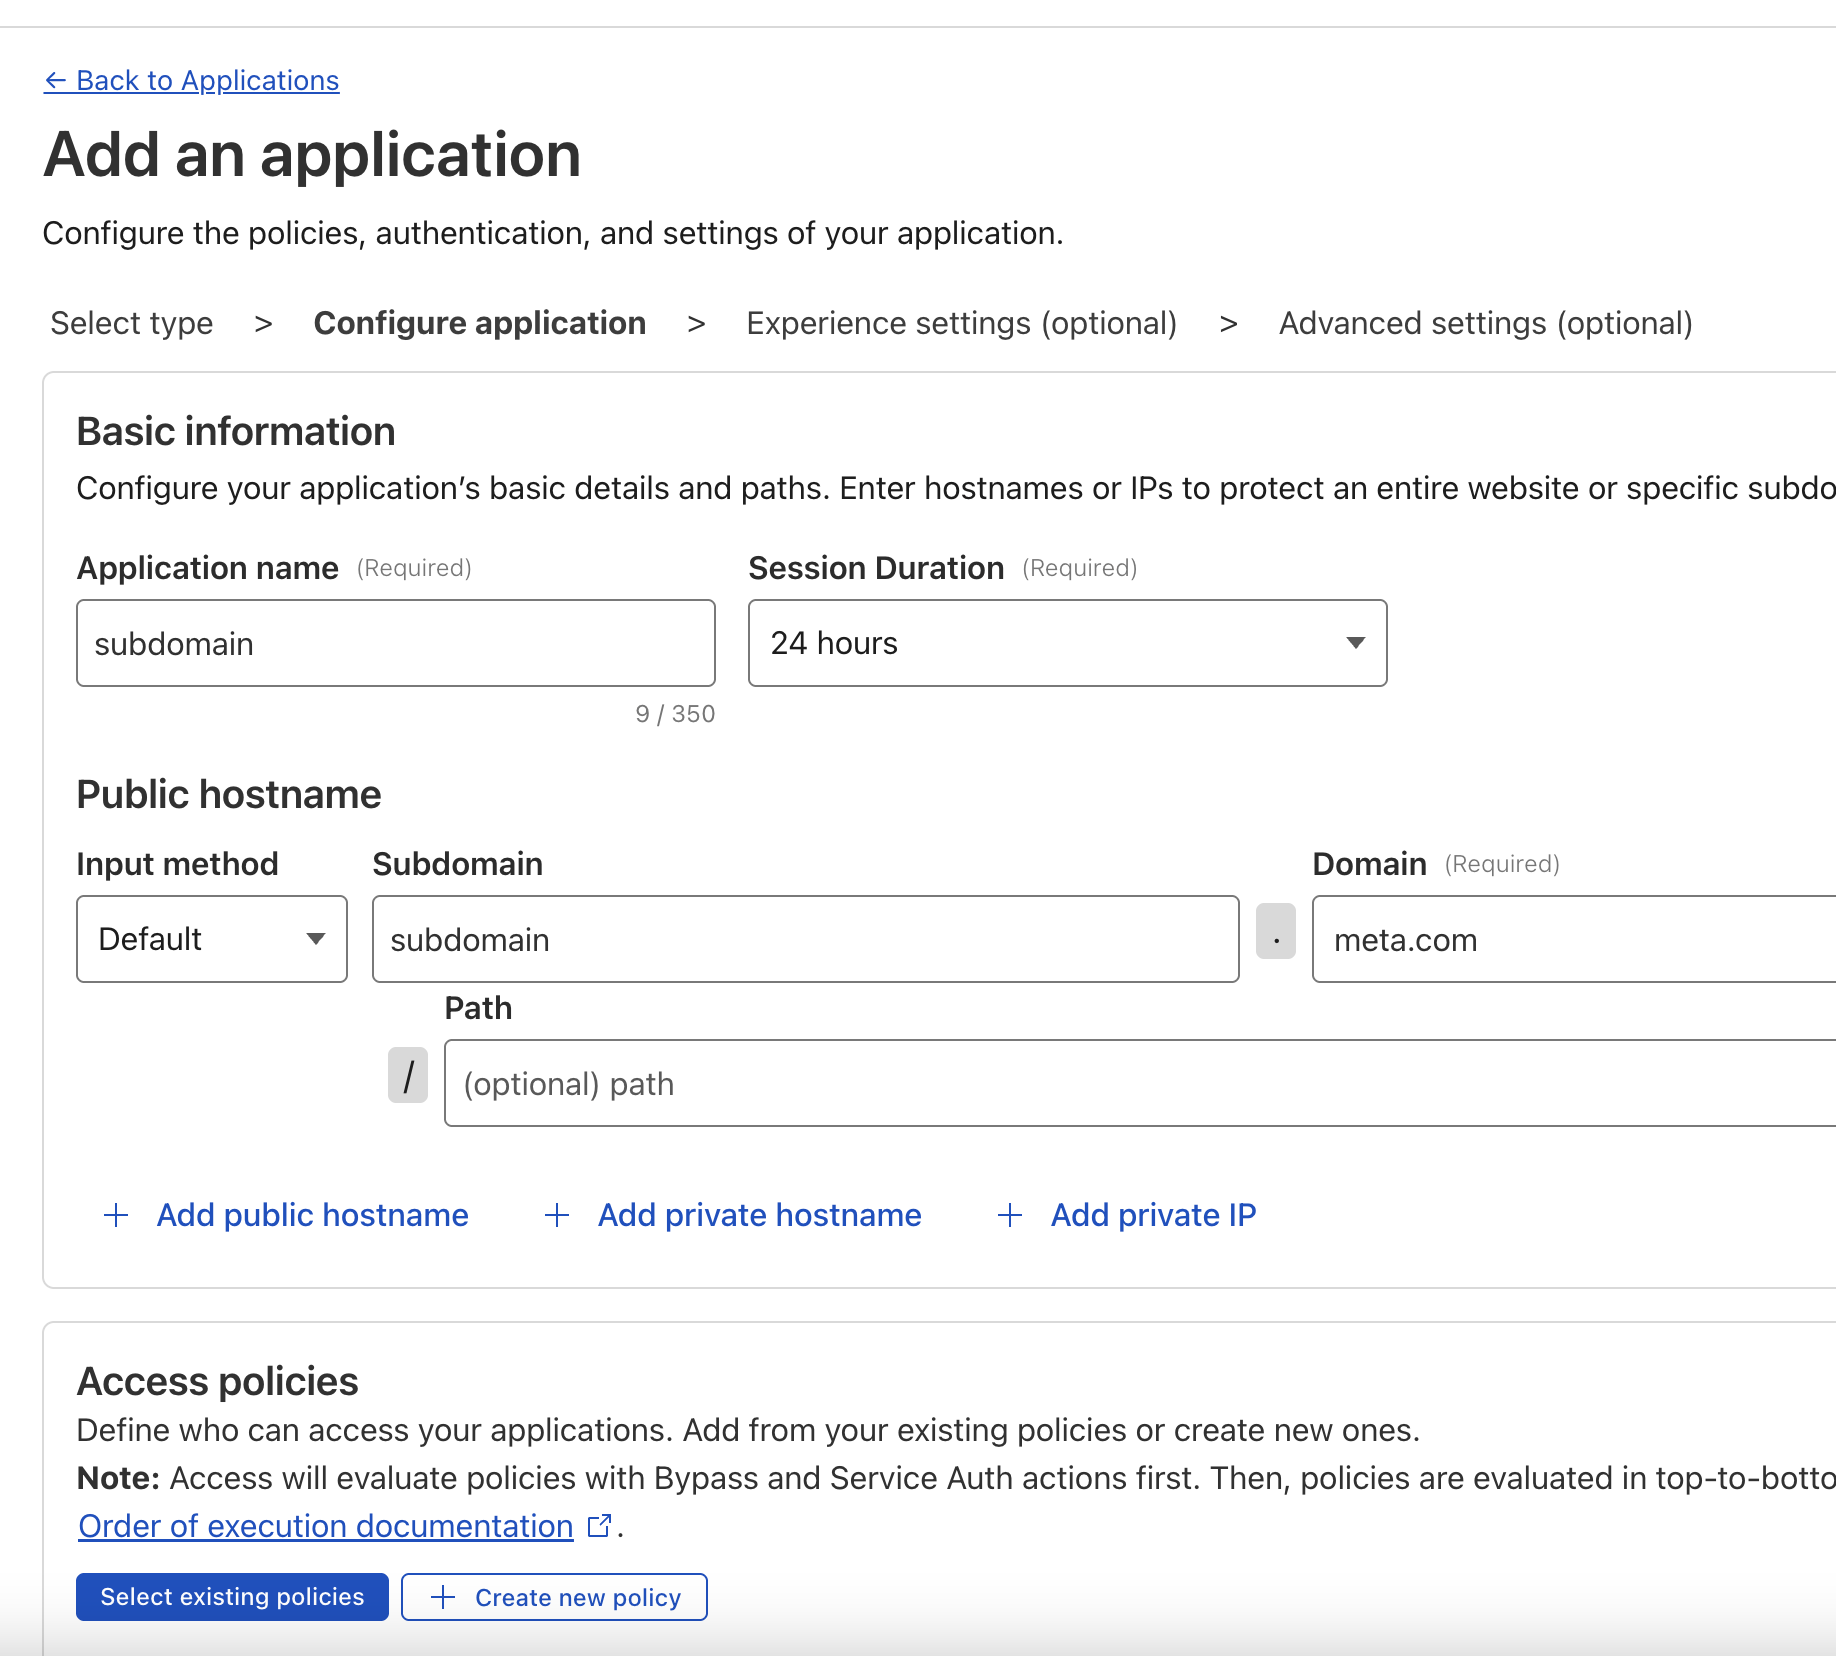
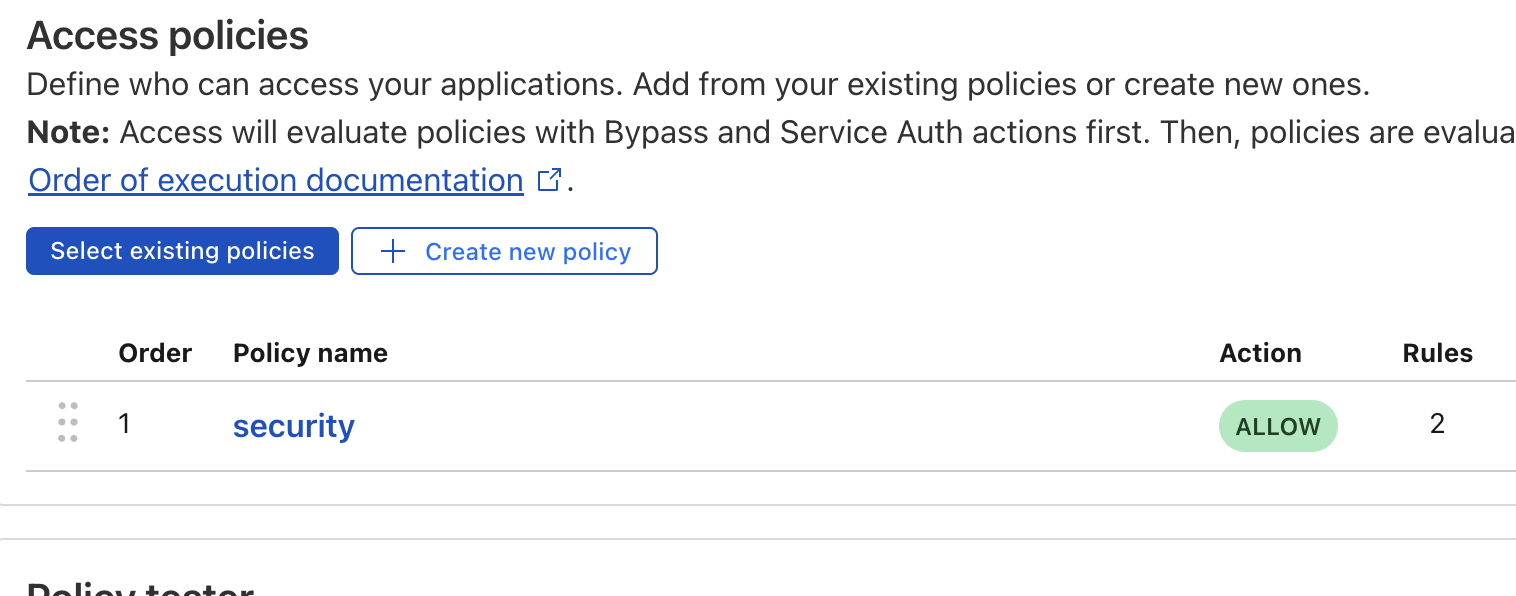
On the same page, you have access policies, select Create New Policy
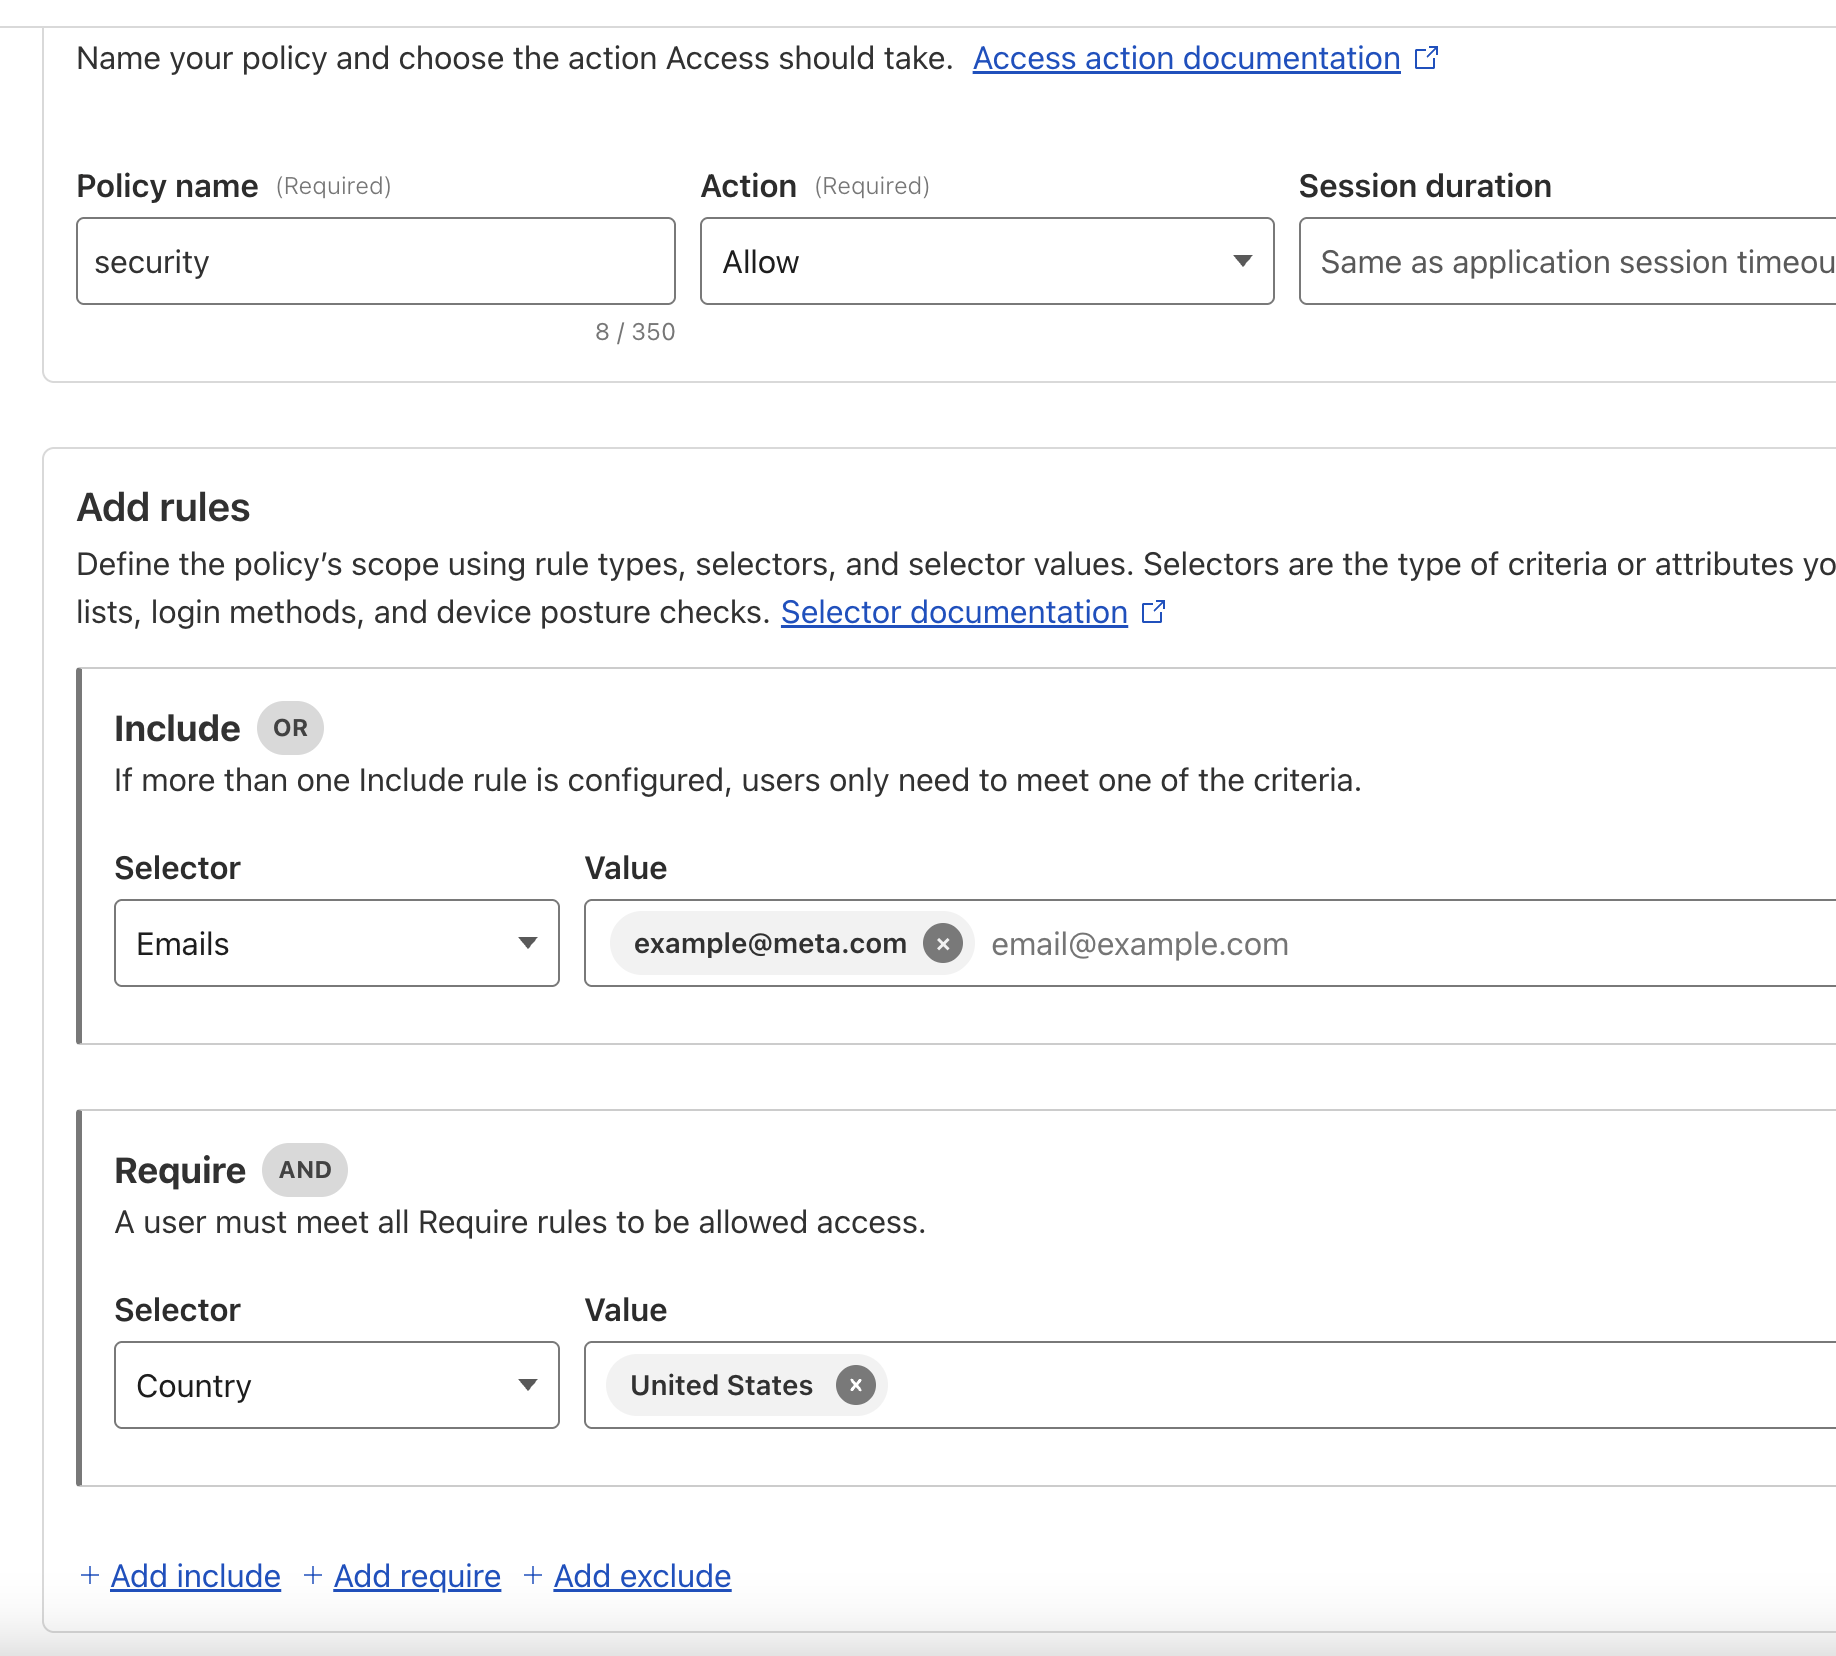
Add the security you want, IPs, Locations, Users etc
Then go back, and add the security policy.
You can edit
- Experience settings (optional)
- Advanced settings (optional)
Also but defaults are okay, and finish creating the application.
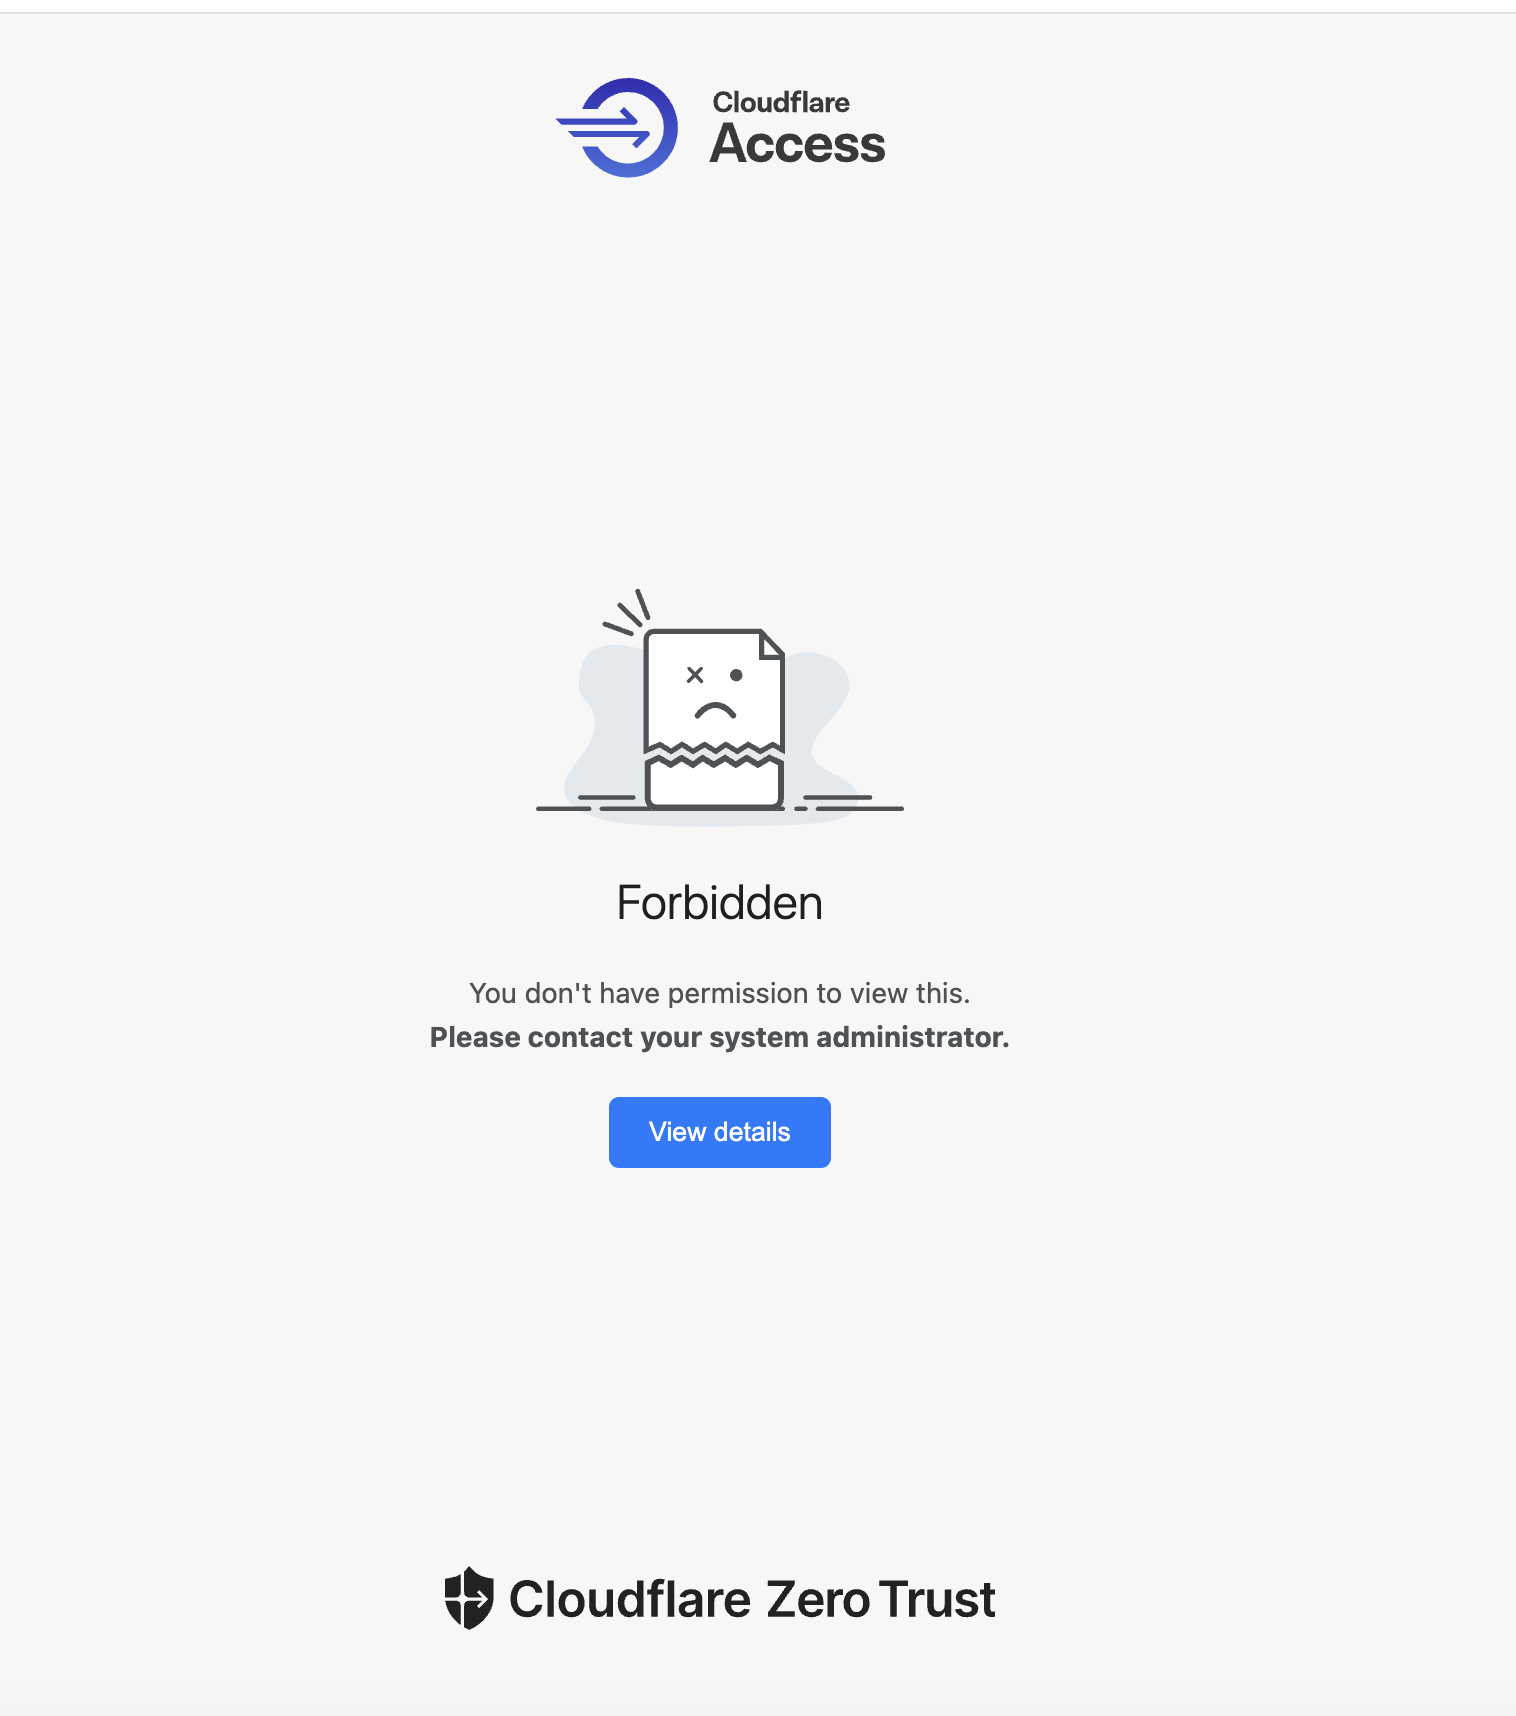
You can then test, I used US but am in UK, so I get this now when access.
Done
- Set up Cloudflare Access rules
- Go to Zero Trust > Access > Applications
Happy to Help
If you’re self-hosting n8n and want to level up your security without adding tons of complexity, I highly recommend trying this. Feel free to ask questions or drop your setup — I’m happy to help others get this working.
Cheers!
(and yes — even the big guys like Fortune 500s use this stack, with more fine-grained polices.)