I’m encountering issues getting the Meta webhook verification to work for the WhatsApp Trigger node on my self-hosted setup, and I’m hoping for some guidance on the correct configuration, particularly regarding the Meta Verify Token.
The Problem & Observations:
-
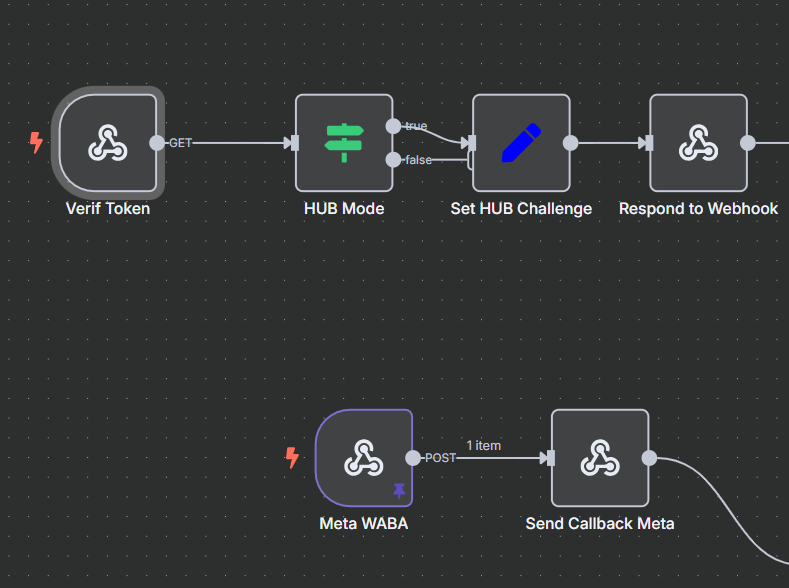
Active Workflow Functions Correctly: When the workflow is activated, it successfully receives and processes incoming WhatsApp messages sent via the
WEBHOOK_URL. This confirms basic credentials (for sending), Traefik routing for POSTs, and DNS are okay. -
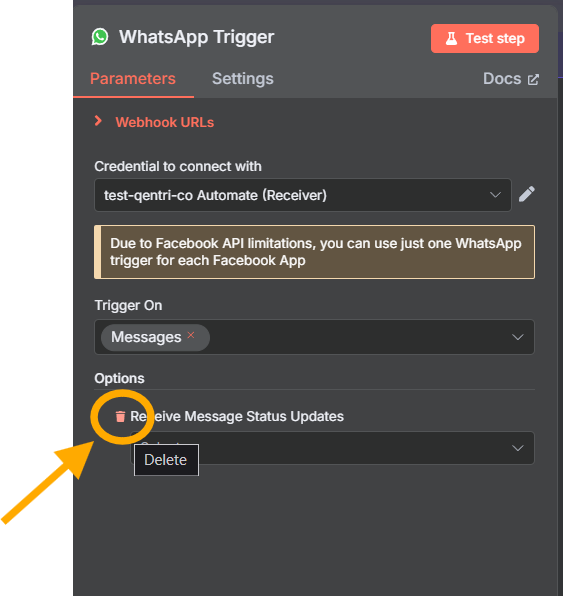
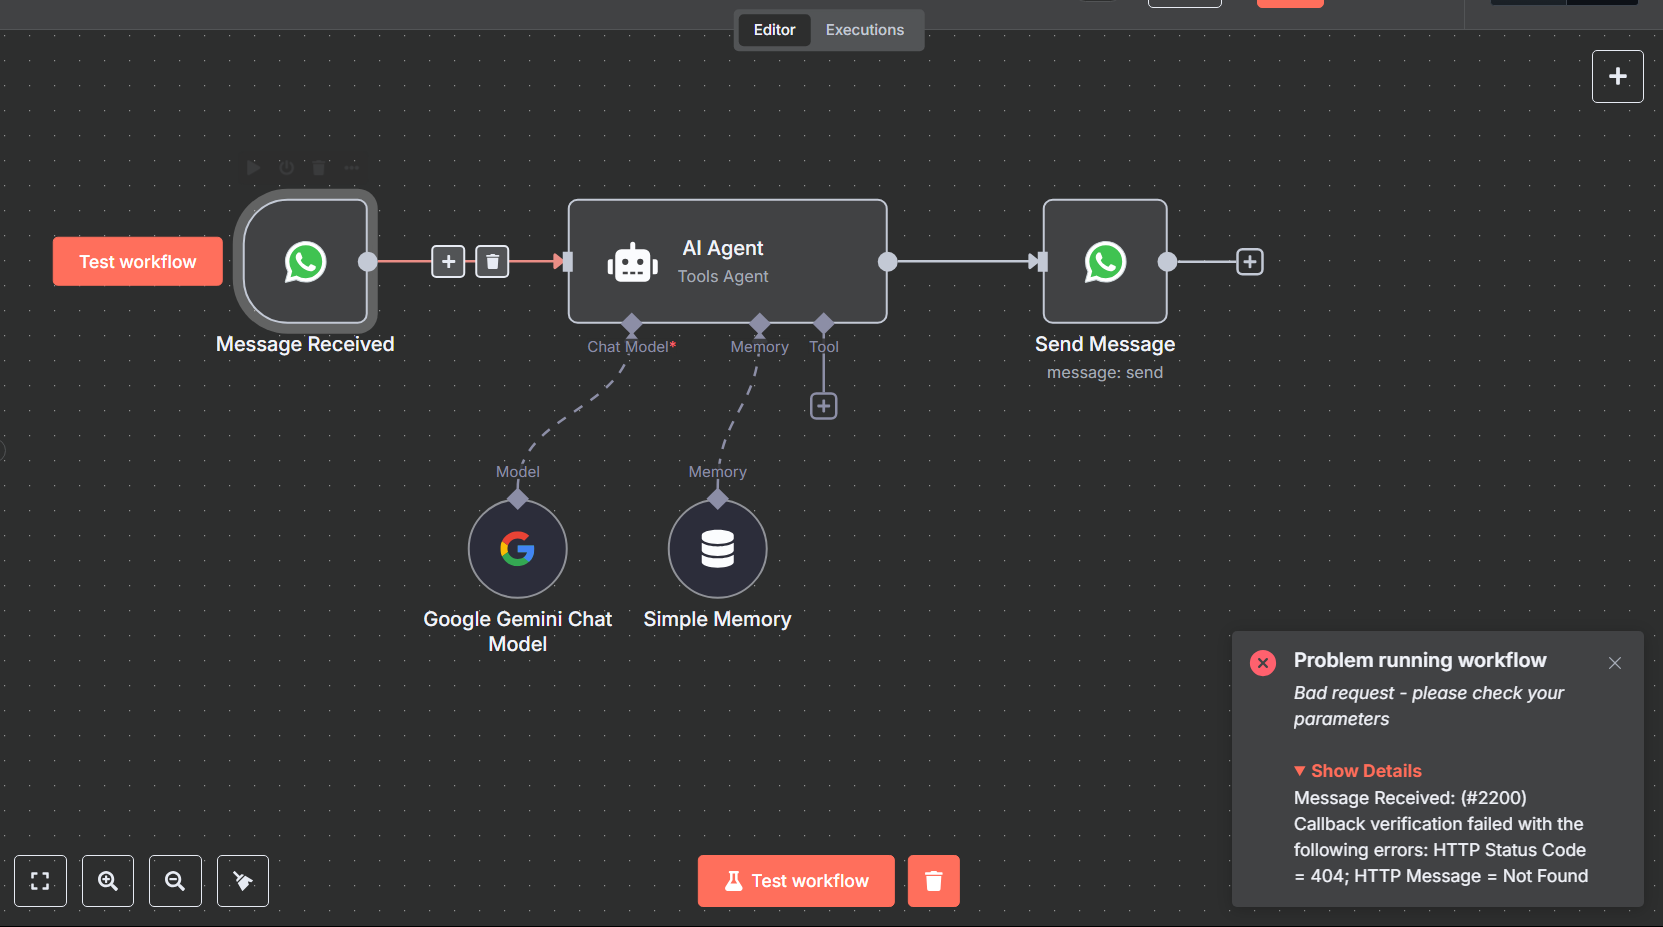
“Test Step” Fails with 404: Clicking “Test step” on the WhatsApp Trigger node consistently results in:
(#2200) Callback verification failed... HTTP Status Code = 404; HTTP Message = Not Found. This seems consistent with the queue mode testing issue reported in GitHub Issue #13361, likely using the wrong base URL for the test callback.
-
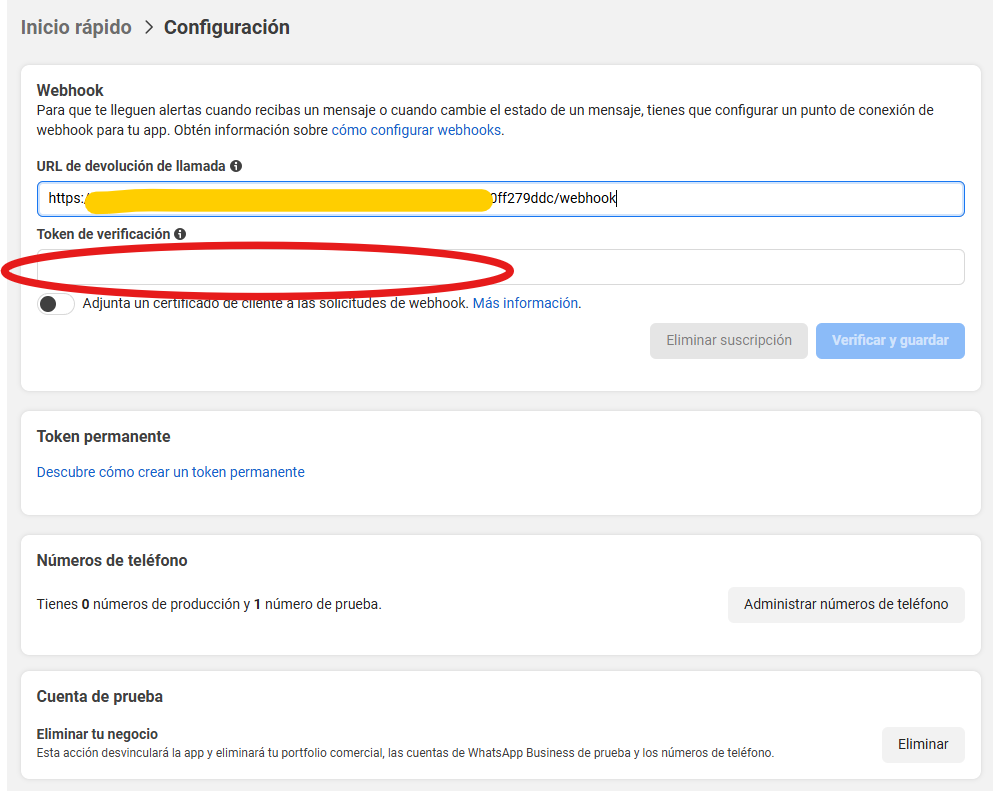
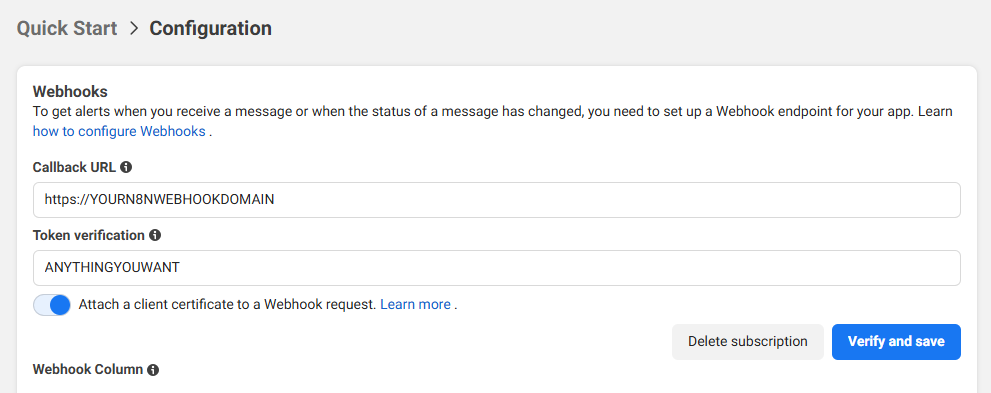
Primary Issue: Meta Verification Fails: The main blocker is that I cannot complete the initial webhook verification within the Meta App Dashboard using the production webhook URL (
https://webhook.mydomain.com/webhook/...). It simply fails without a specific error message from Meta. -
Missing Verify Token Field in UI: I cannot find a field within either the
WhatsApp APIorWhatsApp OAuth APIcredential types in the n8n UI to input the “Verify Token” required by Meta. -
WEBHOOK_VERIFY_TOKENEnv Var Attempted: Following advice from other forum posts, I have added theWEBHOOK_VERIFY_TOKEN=MY_SECRET_TOKENenvironment variable (using my actual token) to theenvironment:sections of myn8n_editor,n8n_webhook, andn8n_workerservices in thedocker-compose.ymlfile and updated the stack. -
Verification Still Fails: Even with the
WEBHOOK_VERIFY_TOKENenvironment variable set, attempting verification in the Meta dashboard still fails.
Core Questions:
- For n8n v1.88.0 self-hosted in queue mode, what is the correct method for configuring the Meta Verify Token for the WhatsApp Trigger node? Is the
WEBHOOK_VERIFY_TOKENenvironment variable the intended way? - If the environment variable is correct, why might Meta verification still be failing? Any common pitfalls with this setup?
- n8n version: 1.88.0
- Database: PostgreSQL
- n8n EXECUTIONS_PROCESS setting: queue
- Running n8n via: Docker (via Portainer)
- Operating system: Ubuntu 22.04.5 LTS (on VPS via Peramix)